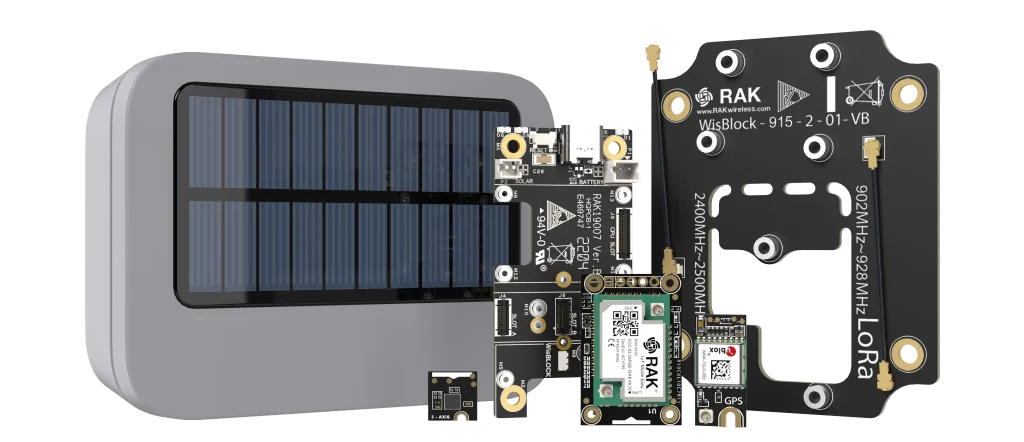
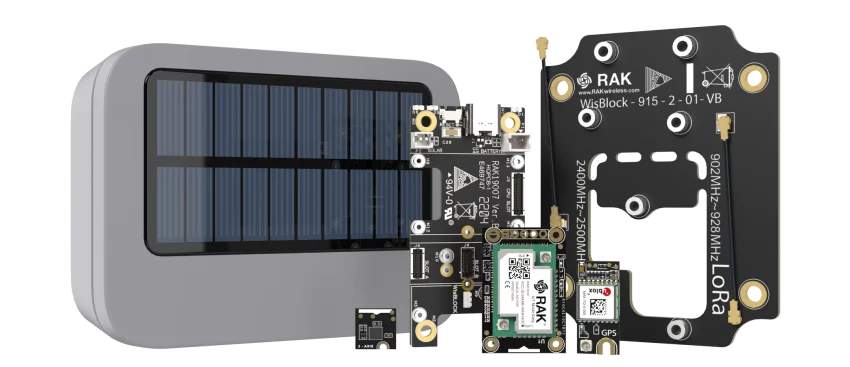
Purchase your equipment. There is a variety of different boards you can work off of. Keep in mind the ESP32 based boards are power hungry so for solar nodes I recommending using the RAK4631 based wisblock. Use our referral link https://rakwireless.kckb.st/okmesh or use OKMESH at checkout for 3% off your purchase.

Hardware: The basic starter kit can be purchased from rakwireless, additionally you can purchase the solar enclosure separately or as a kit.
- Wisblock with RAK LoRA/bluetooth starter kit
- Wisblock with RAK LoRA/bluetooth + solar enclosure starter kit
There a more accessories on rakwireless you can choose to add if you want more functionality, LAN adapter for MQTT, humidity and temperature telemetry modules, etc.
Flashing your wisblock
- Be sure to use a USB cable that is capable of both data transfer and power.
- Download the latest drivers here.
- In a Chrome browser go to the link, meshtastic web flasher.
- Select your target device.
- Select the meshtastic firmware version 2.2.21 beta as I wrote this post.
- Click Flash
- There are other hardware guides here if you wish to use another vendor.
Connecting
- Download and install the meshtastic app on your iOS or android device.
- Connect to your wizblock via bluetooth.
- Leave your ROLE set to CLIENT unless you’re sure another role would suit the node’s purpose. All CLIENT nodes will “repeat” and “route” packets.
- Set your default primary channel region to US.
- To communicate on the Oklahoma Mesh, ensure you have not changed the LoRa Modem Preset from the default unset / LONG_FAST.
- Tap on Messages and say Howdy!
Advanced
*This is an advanced feature that few users should need. Keep in mind that it is possible (if you are not careful) to assign settings to a remote node that cause it to completely drop off of your mesh. We advise network admins have a test node to test settings with before applying changes to a remote node to prevent this. By default, nodes will only respond to administrative commands via the local USB/Bluetooth/TCP interface. This provides basic security to prevent unauthorized access and is how normal administration and settings changes work. The only difference for the remote case is that we are sending those commands over the mesh.
For any node that you want to administer, you must:
- Follow the steps outlined in this guide.
A better solar node
List is from our friends of Austin Mesh
| Item | Product Name | Cost | Link |
| Solar Panel | Soshine12W | $30 | Amazon or AliExpress |
| Battery | Voltaic Systems V75 | $79 | Amazon or voltaicsystems.com |
| Rak Board | RAK Meshtastic Kit | $35 | RakWireless |
| Antenna Connector | IPEX to N Type Female | $4 | Amazon |
| Antenna | 915 MHz 3 dBi N-Female | $18 | Rokland |
| Box | ABS Box with mounting tabs, 158mm x 90mm x 46mm | $10 | Amazon or AliExpress |
| Drain Plug | VENT-PS1YBK-N8001 | $3 | Mouser |
| USB Cable Pass-Through | 3/4 NPT Cable Gland | $2 | Amazon |
| Antenna Wrap | Proxicast | $2 | Amazon |
| $183 |
To turn this repeater into a solar-powered meshtastic birdhouse you can just add the following components. Simply paint the top of the birdhouse black and glue on the solar panel, cut a hole in the back of the birdhouse big enough to put the box into it, attach the antenna mount L-Bracket to the side of the birdhouse, and connect the box to the antenna on the mount with the pigtail using the jam nut.
| Item | Product Name | Cost | Link |
| Birdhouse | Birdhouse | $25 | Amazon |
| Pigtail Cable | Pigtail Cable | $10 | Amazon |
| Jam Nut | Jam Nut | $12 | Amazon |
| Antenna Bracket | Larsen Mobile Antenna Mounts TMB58B | $15 | DX Engineering |


